Creating dynamic OG images in Astro

Creating Open Graph images manually is a pain. Opening Figma, updating templates, exporting, uploading - and repeating this for every single post. While tools like Figma make the process easier, it’s still a workflow from the past, not 2025. Let’s fix this tedious process once and for all using Astro and astro-og-canvas, bringing OG image generation into the modern age.
The problem with manual OG images
During my time at a marketing agency, creating OG images was a daily ritual. Every client had their own template - first in Photoshop, later in Figma - carefully crafted to match their brand guidelines. While having unique templates streamlined the process, it was still a time sink. For each piece of content, someone had to open the template, update the copy, maybe swap the background image, export, and upload.
What started as a manageable task for a few clients quickly became overwhelming as our client base grew. Even with well-organized templates, we were spending hours each week just on OG images. The real headache came when clients wanted to update their published content - each change meant repeating the entire process. And let’s not even mention the occasional “emergency” requests where rushing led to wrong dimensions or forgotten brand guidelines.
Enter astro-og-canvas
astro-og-canvas solves this problem elegantly. It generates Open Graph images programmatically, ensuring consistent branding while adapting to your content automatically. Let’s see how to implement it.
First, install the package:
yarn add astro-og-canvas
or with npm:
npm i astro-og-canvas
Now, create a new endpoint that will generate your OG images. Here’s a basic setup:
// src/pages/open-graph/[...route].ts
import { OGImageRoute } from "astro-og-canvas";
import { getCollection } from "astro:content";

export const { getStaticPaths, GET } = OGImageRoute({
  param: "route",

  // Generate OG images for all blog posts
  // Replace "blog" with your collection name
  pages: async () => {
    const posts = await getCollection("blog");

    return posts.reduce((acc, post) => ({
      ...acc,
      [post.slug]: {
        // replace with your collection's title and description
        title: post.data.title || "Default title",
        description: post.data.description || "Default description",
      },
    }));
  },

  // Basic template for our OG images
  getImageOptions: (path, page) => ({
    title: page.title,
    description: page.description,
    logo: {
      path: "./src/assets/logo.png",
    },
  }),
});
Making it your own
The real power of astro-og-canvas comes from its customization options. You can control every aspect of your OG images, from fonts to layouts. Here’s how I style mine:
// src/pages/open-graph/[...route].ts
import { getCollection } from "astro:content";
import { OGImageRoute } from "astro-og-canvas";

export const prerender = true;

const blogs = await getCollection("blog");
const pages = Object.fromEntries(
  blogs.map(({ id, slug, data }) => [id, { data, slug }]),
);


export const { getStaticPaths, GET } = OGImageRoute({
  param: "route",
  pages,
  getImageOptions: (path: string, { data }: (typeof pages)[string]) => ({
    title: data.title,
    description: data.description ? data.description : "",
    // You can use custom fonts if you want
    fonts: [
      "./public/fonts/Inter-Regular.ttf",
      "./public/fonts/Inter-Bold.ttf",
    ],
    font: {
      title: {
        size: 44,
        lineHeight: 1.3,
        families: ["Inter"],
        weight: "Bold",
      },
      description: {
        size: 30,
        lineHeight: 1.6,
        color: [115, 115, 115],
        families: ["Inter"],
        weight: "Normal",
      },
    },
    bgImage: {
      path: "./src/assets/og-bg.png",
      fit: "contain",
    },
    padding: 80,
    logo: {
      path: "./src/assets/logo.png",
      size: [50, 60],
    },
    quality: 100,
  }),
});
It’ll generate an OG image which looks like this:
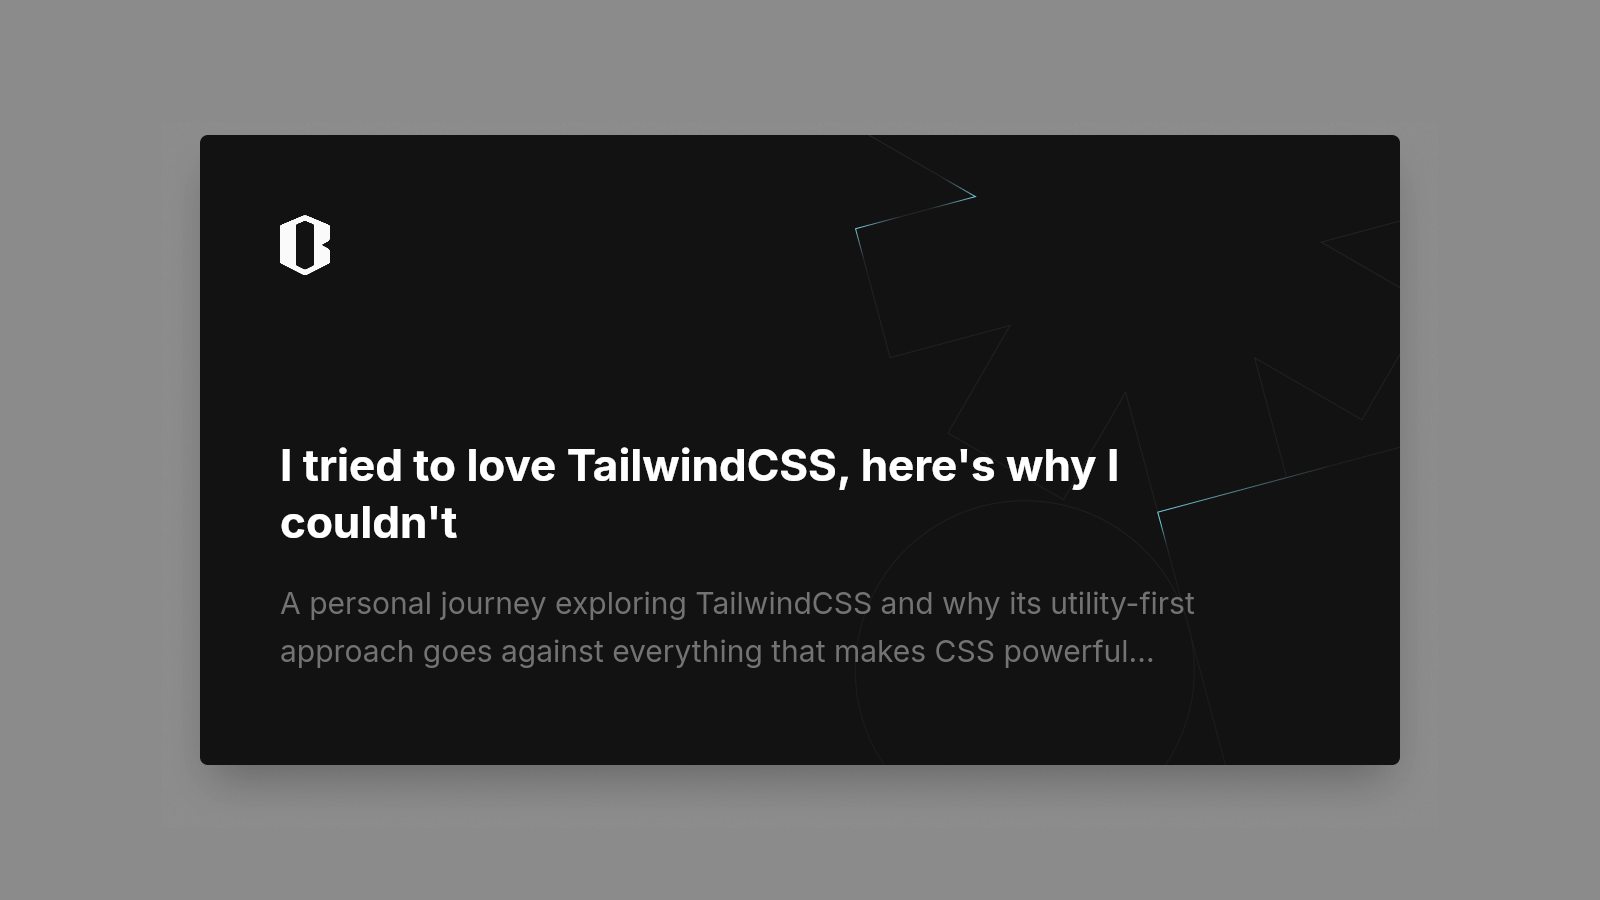
Implementing in your blog
To use your dynamic OG images, add these meta tags to your blog post template:
---
// src/pages/blog/[slug].astro

// In this case you can test it in development mode
const baseUrl = import.meta.env.DEV
  ? "http://localhost:4321"
  : new URL(Astro.request.url).origin;

const { slug, title, description } = post.data;

const ogImage = new URL(`/open-graph/${slug}.png`, baseUrl).toString();
---

<head>
  <meta property="og:image" content={ogImage} />
  <meta property="twitter:image" content={ogImage} />
</head>
Common pitfalls to avoid
After implementing this on my own blog, I’ve learned a few important lessons:
- Font paths matter: Ensure your fonts are accessible during build time. I store mine in
public/fonts. - Test across platforms: What looks perfect on Twitter might clip on LinkedIn. Always test on multiple platforms.
- Watch your contrast: Dark text on dark backgrounds is a common mistake. Test your templates with various content lengths.
Looking ahead
Dynamic OG images are just the beginning. You could extend this system to generate:
- Different templates for different content types
- Seasonal variations of your OG images
- A/B tests for social engagement
The power of automation
The switch from manual to automated OG images has saved me countless hours. More importantly, it’s eliminated a major source of inconsistency in my content workflow. Every post now gets a perfectly branded, properly sized OG image without opening Figma. Next time you find yourself manually creating social preview images, remember: automation isn’t just about saving time - it’s about maintaining consistency and reducing human error. Your content deserves that level of professionalism.